
If you buy one thing, make it a cedar kit sized to one arm's reach across (3–4 ft). Cedar shrugs off weather for a decade with zero treatment, the kit goes together in an afternoon, and the honest catch is that it costs more up front than the lumber-and-screws route you'll be rebuilding in three years. I've got the exact kit I'd buy below.
The raised-bed boom deserves some side-eye. Every feed and every Pinterest board is screaming "build a bed this weekend!" — and a lot of those weekend beds are rotting at the corners by year three. I've watched it happen in my own yard, which is exactly why I'd rather give you the honest version.
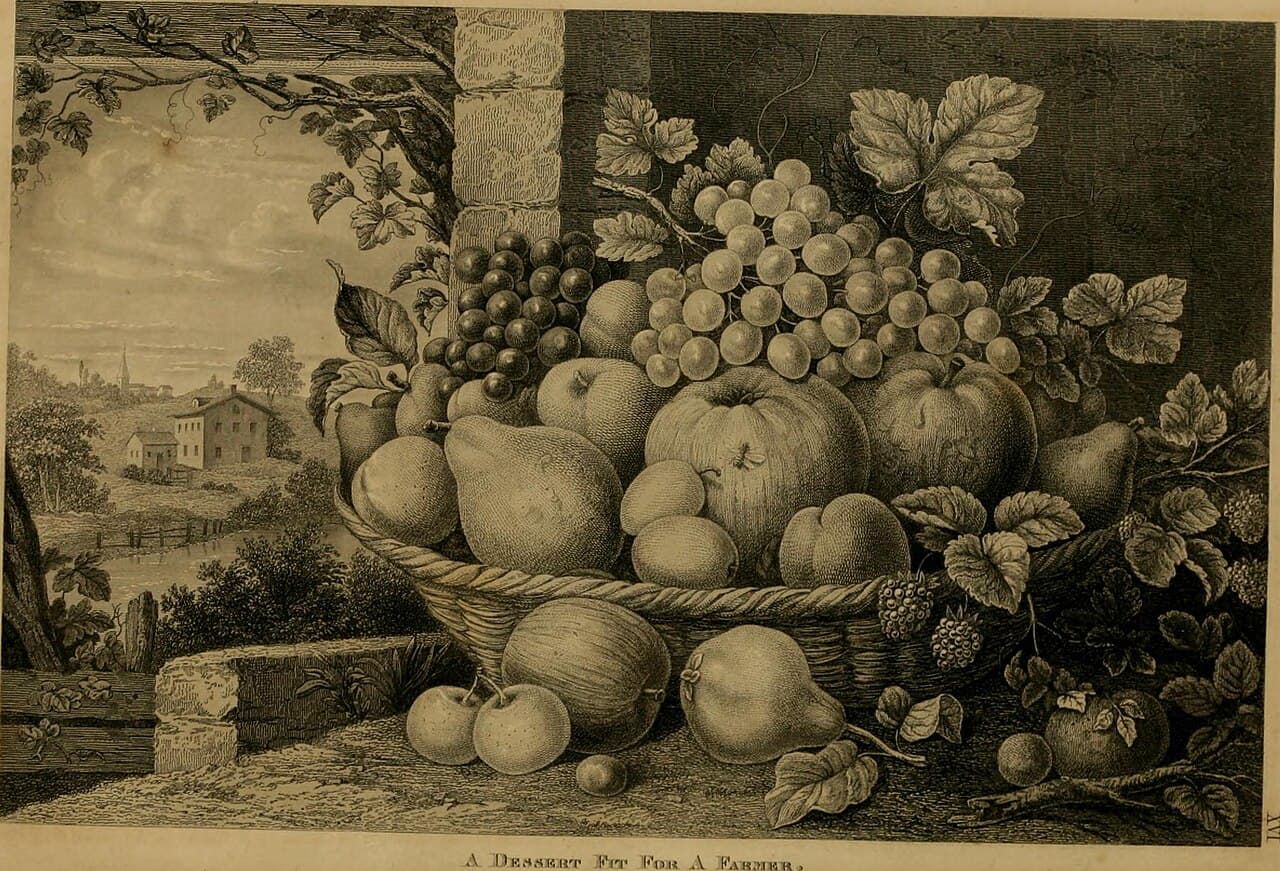
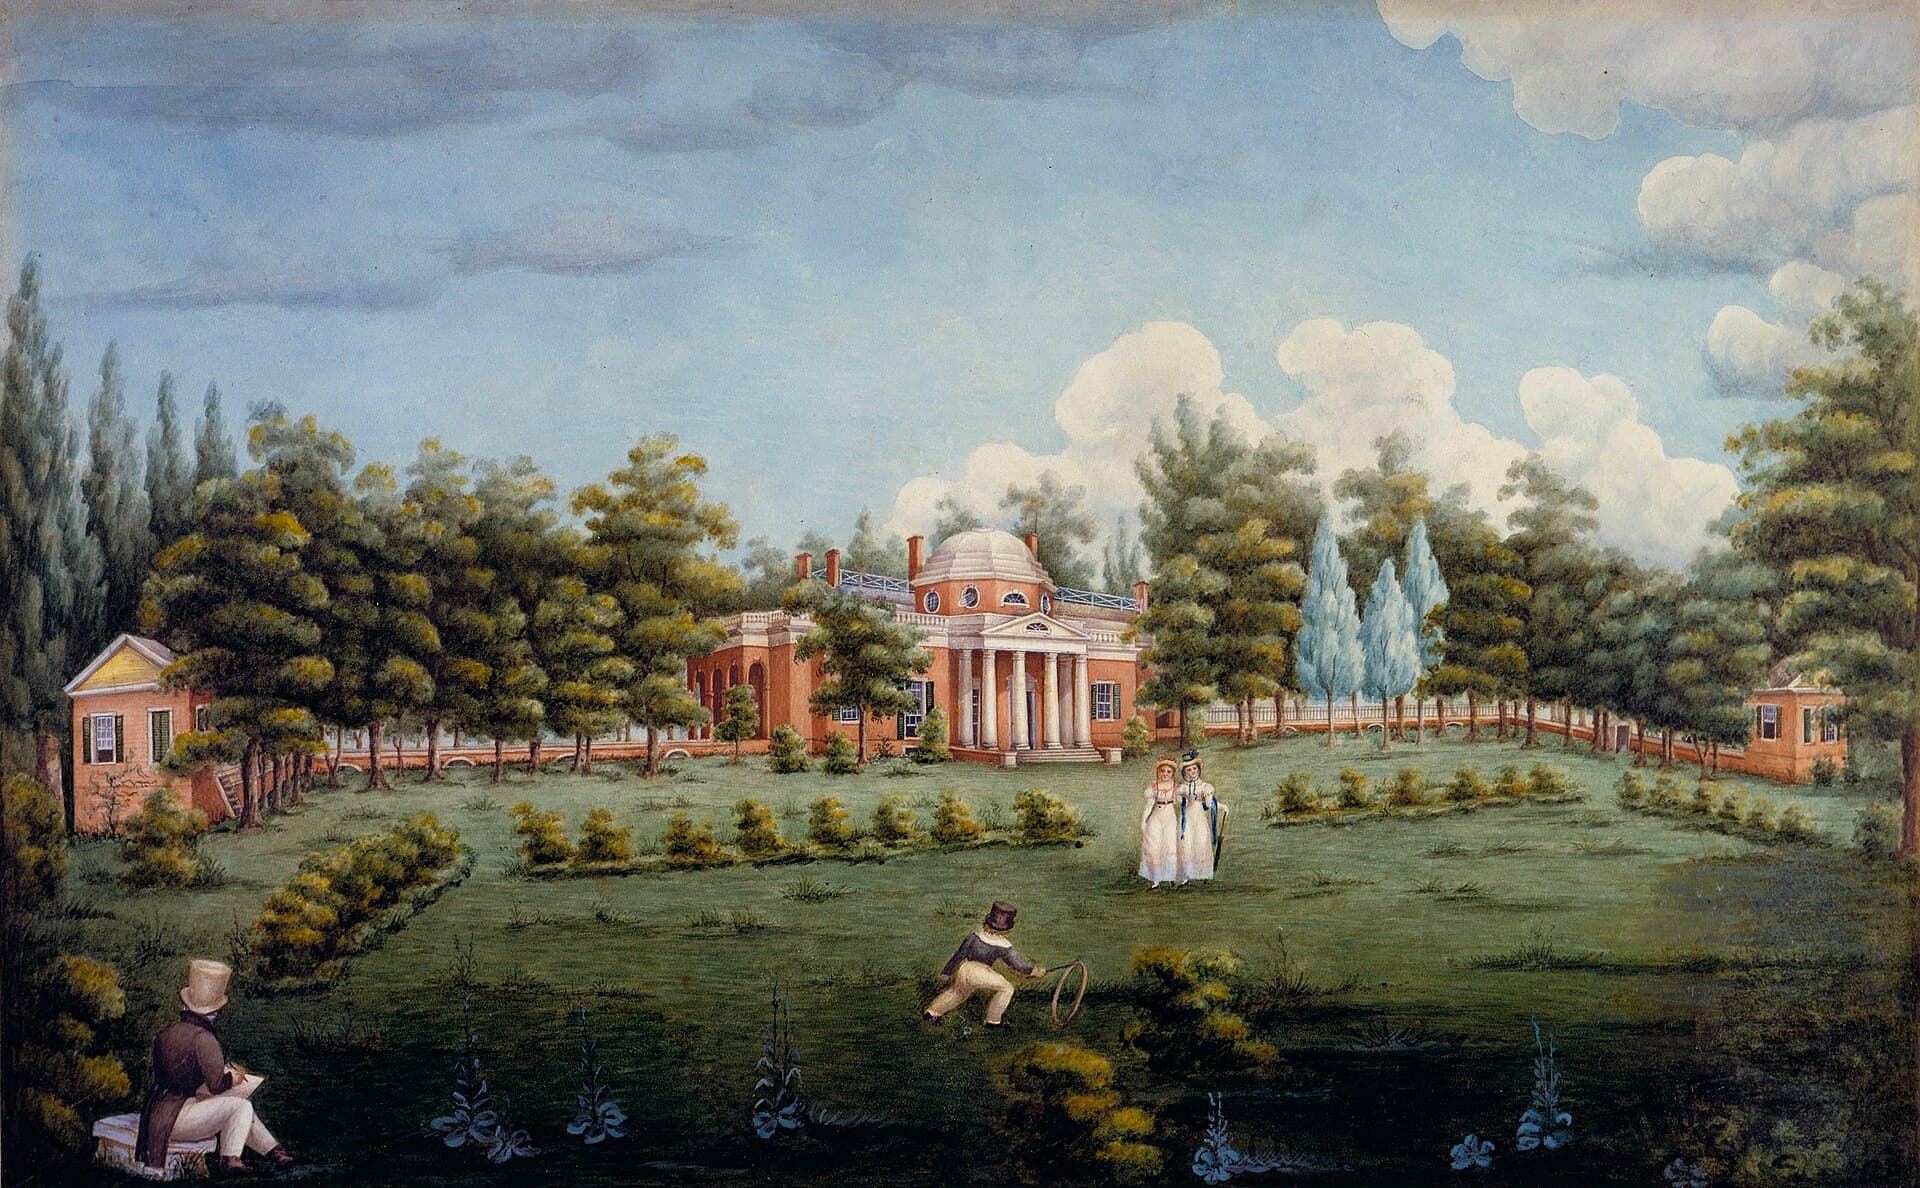
But here's the thing: you're not inventing anything when you build a bed. You're borrowing one of the great ideas in American history. In the early 1800s, Thomas Jefferson carved a kitchen garden straight out of a mountainside at Monticello — a terrace nearly 1,000 feet long, held up by a stone wall twelve feet tall at its highest point. He started the terracing in 1806 and was tending it at full tilt by 1812, growing in a series of neat, sun-facing beds he rotated from year to year. Jefferson was doing raised-bed gardening on a scale you could see from the road — and he kept records like a scientist, noting in his garden book what he planted, when it came up, and what failed. Two centuries later, that's the same instinct you're reaching for: lift the soil, control what's in it, watch what works, and don't repeat a mistake.
We're shrinking the idea down to fit a backyard, but the logic hasn't changed. These aren't just pretty wooden rectangles — stacked, sun-warmed soil that drains well and warms early is a genuinely better place to grow food. The method is right. What usually goes wrong is the materials — and the corners people cut buying them.
Why Raised Beds Earn Their Keep (and Where They Don't)
You get three real wins from putting your food up in a bed:
- Soil you control, not soil you fight. You fill the frame with a mix you chose. That's a big deal where I am, in clay-heavy Carolina red dirt that turns to brick when it's dry.
- Warm soil in spring, longer season. Soil sitting above grade warms faster in spring and holds heat later in fall, so your calendar stretches at both ends.
- Your back will thank you. Keep it about 4 ft wide and you reach every inch without stepping in. After years of kneeling in muddy rows, that sold me more than anything.
The honest flip side: beds cost more per square foot than planting in the ground, they dry out faster in the heat, and a poorly made frame is worse than no frame at all. If you're on a tight budget or you've got a half-acre, plain ground rows with good compost will beat a cheap rickety box every time.
What to Look For (the Evergreen Checklist)
- Width, no more than 4 ft — you need to reach the middle from either side without stepping in the bed.
- Depth that matches what you grow — 6–12 in handles most vegetables; go 16+ in for root crops.
- A material you're willing to live with for a decade — see my picks below, each with its honest con.
- Bottom sorted before you fill — open-bottom beds drain and let worms up; a liner only if your ground is junk.
- Real corners and real seams — are the screws or brackets corrosion-treated? Cheap kits fall apart at the joints first.
- A warranty a real maker stands behind — 5–10+ years says they built it to last.
The Picks, With the Pros and Cons
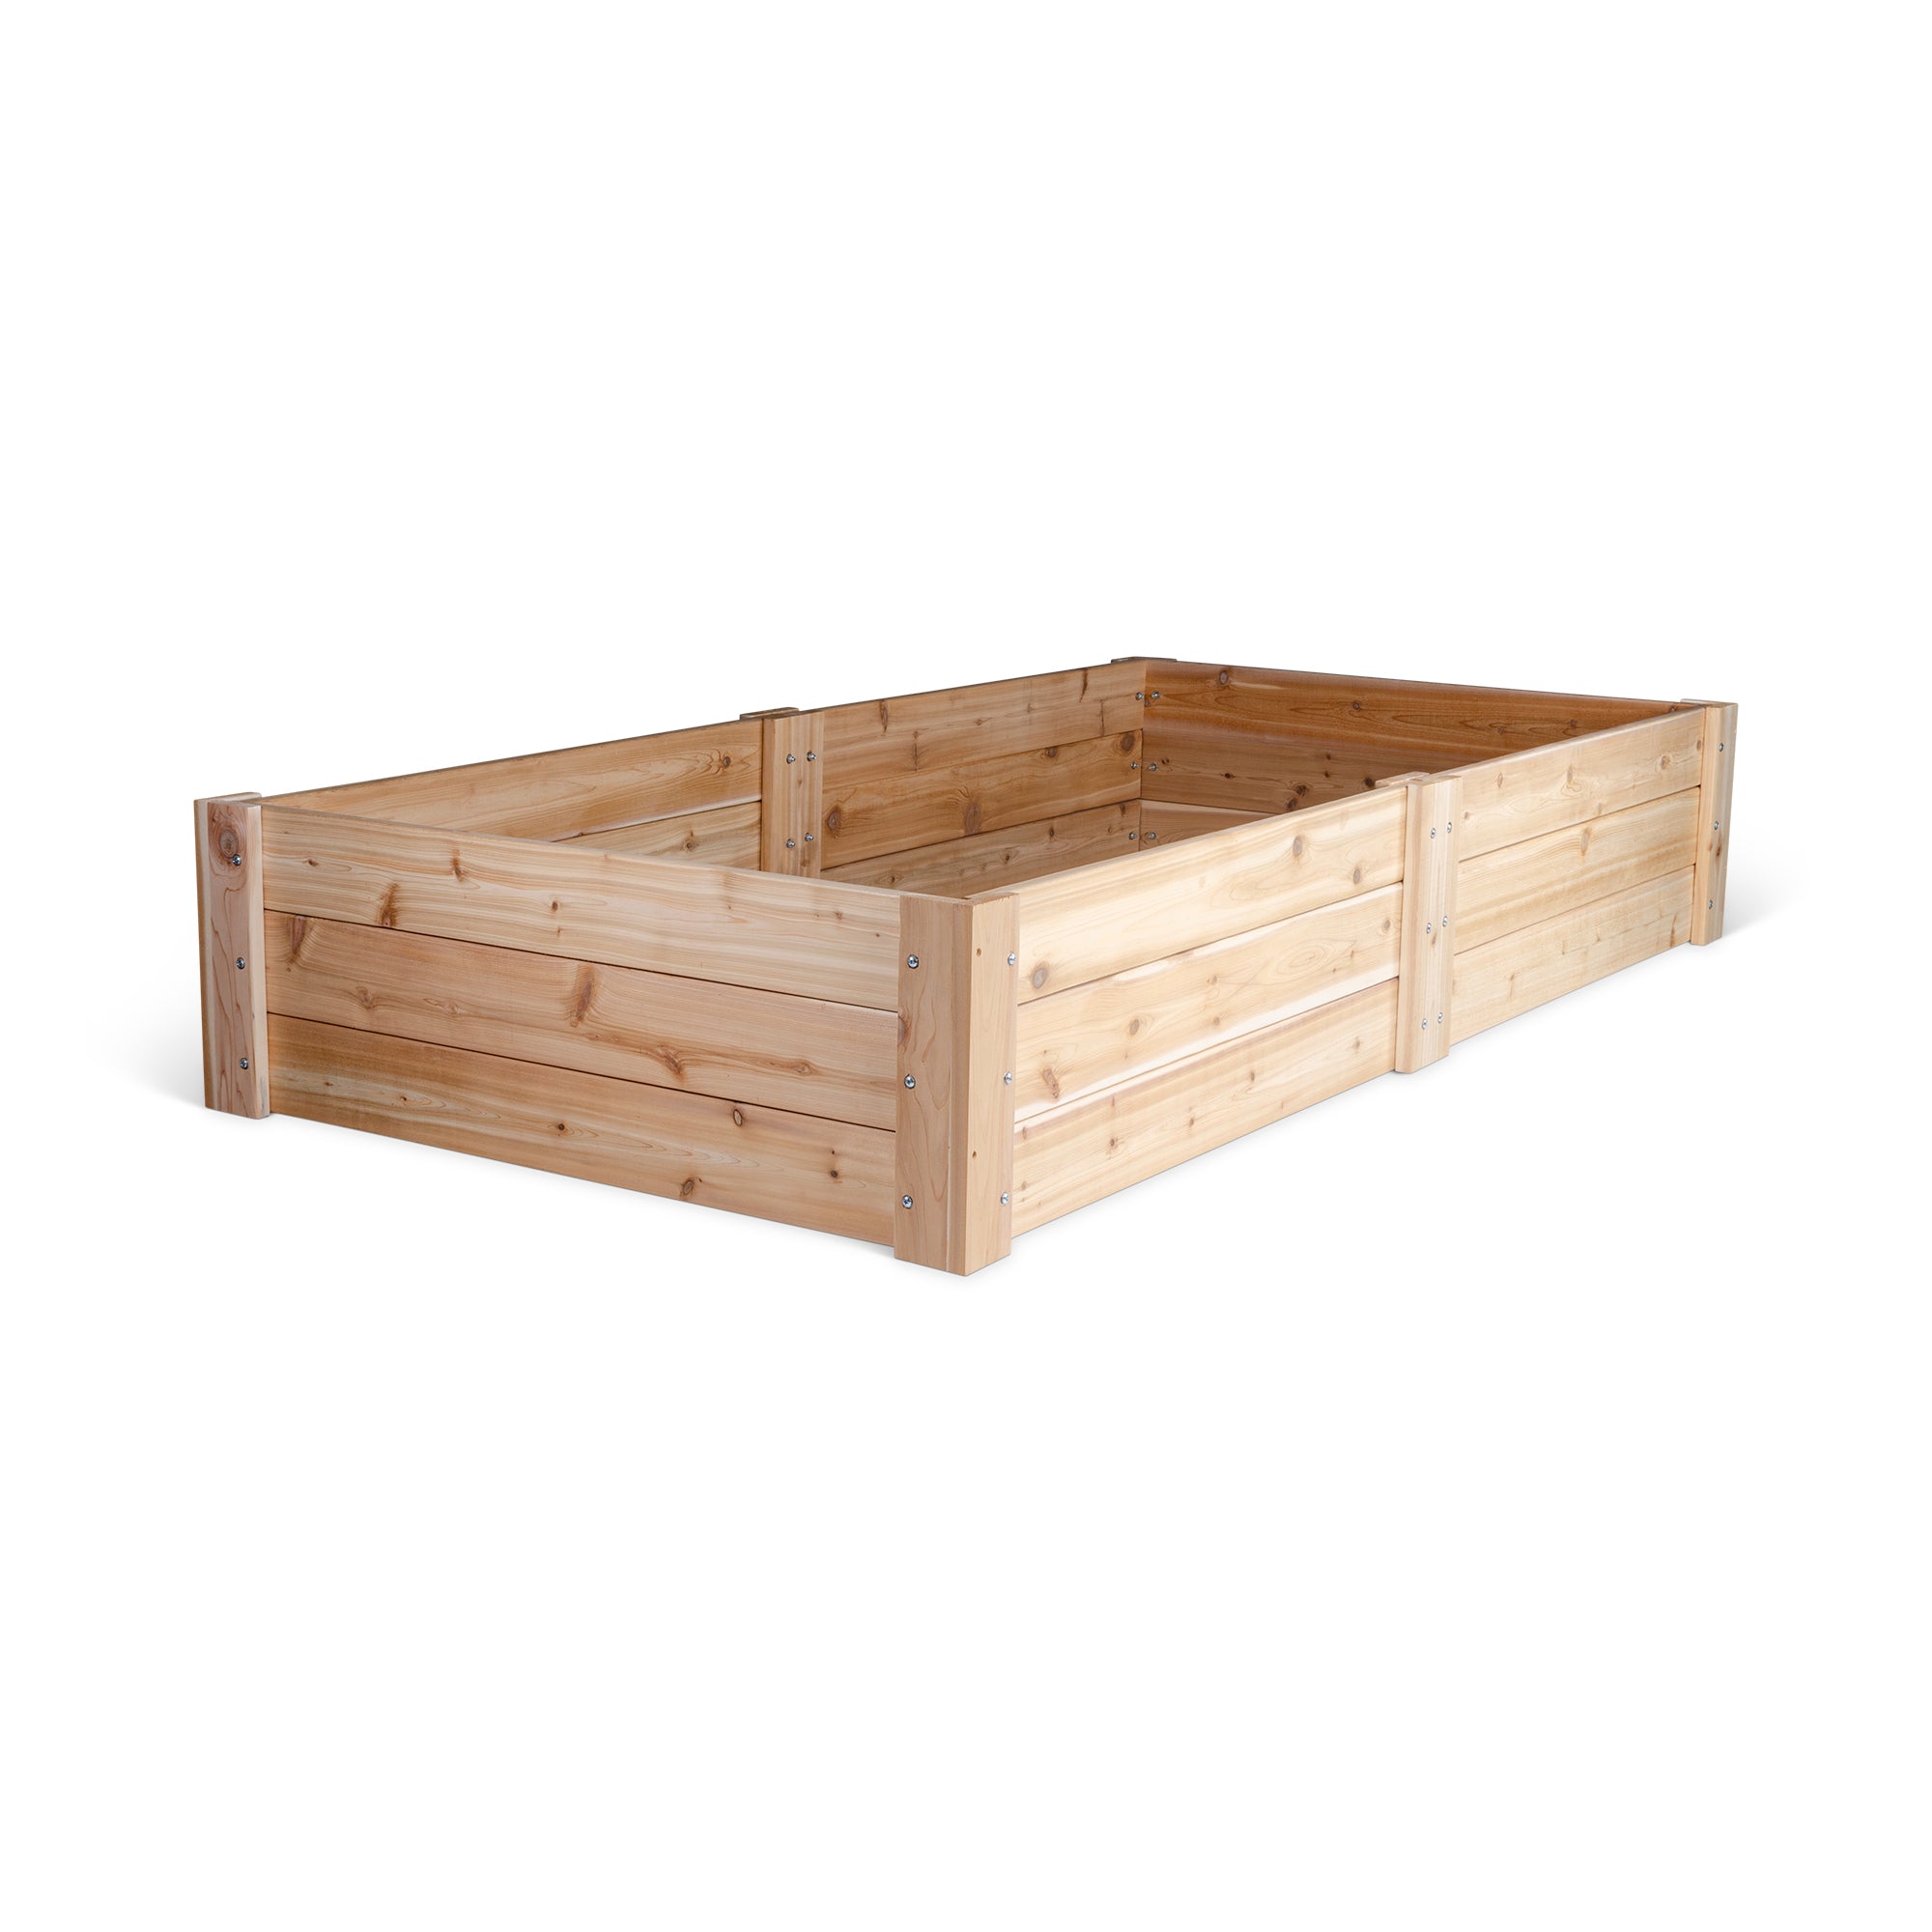
Cedar's naturally rot-resistant, so you don't have to treat or edge it, and a good kit goes together in under an hour with just a rubber mallet. The 16.5" depth covers everything from lettuce to carrots without you overthinking it.
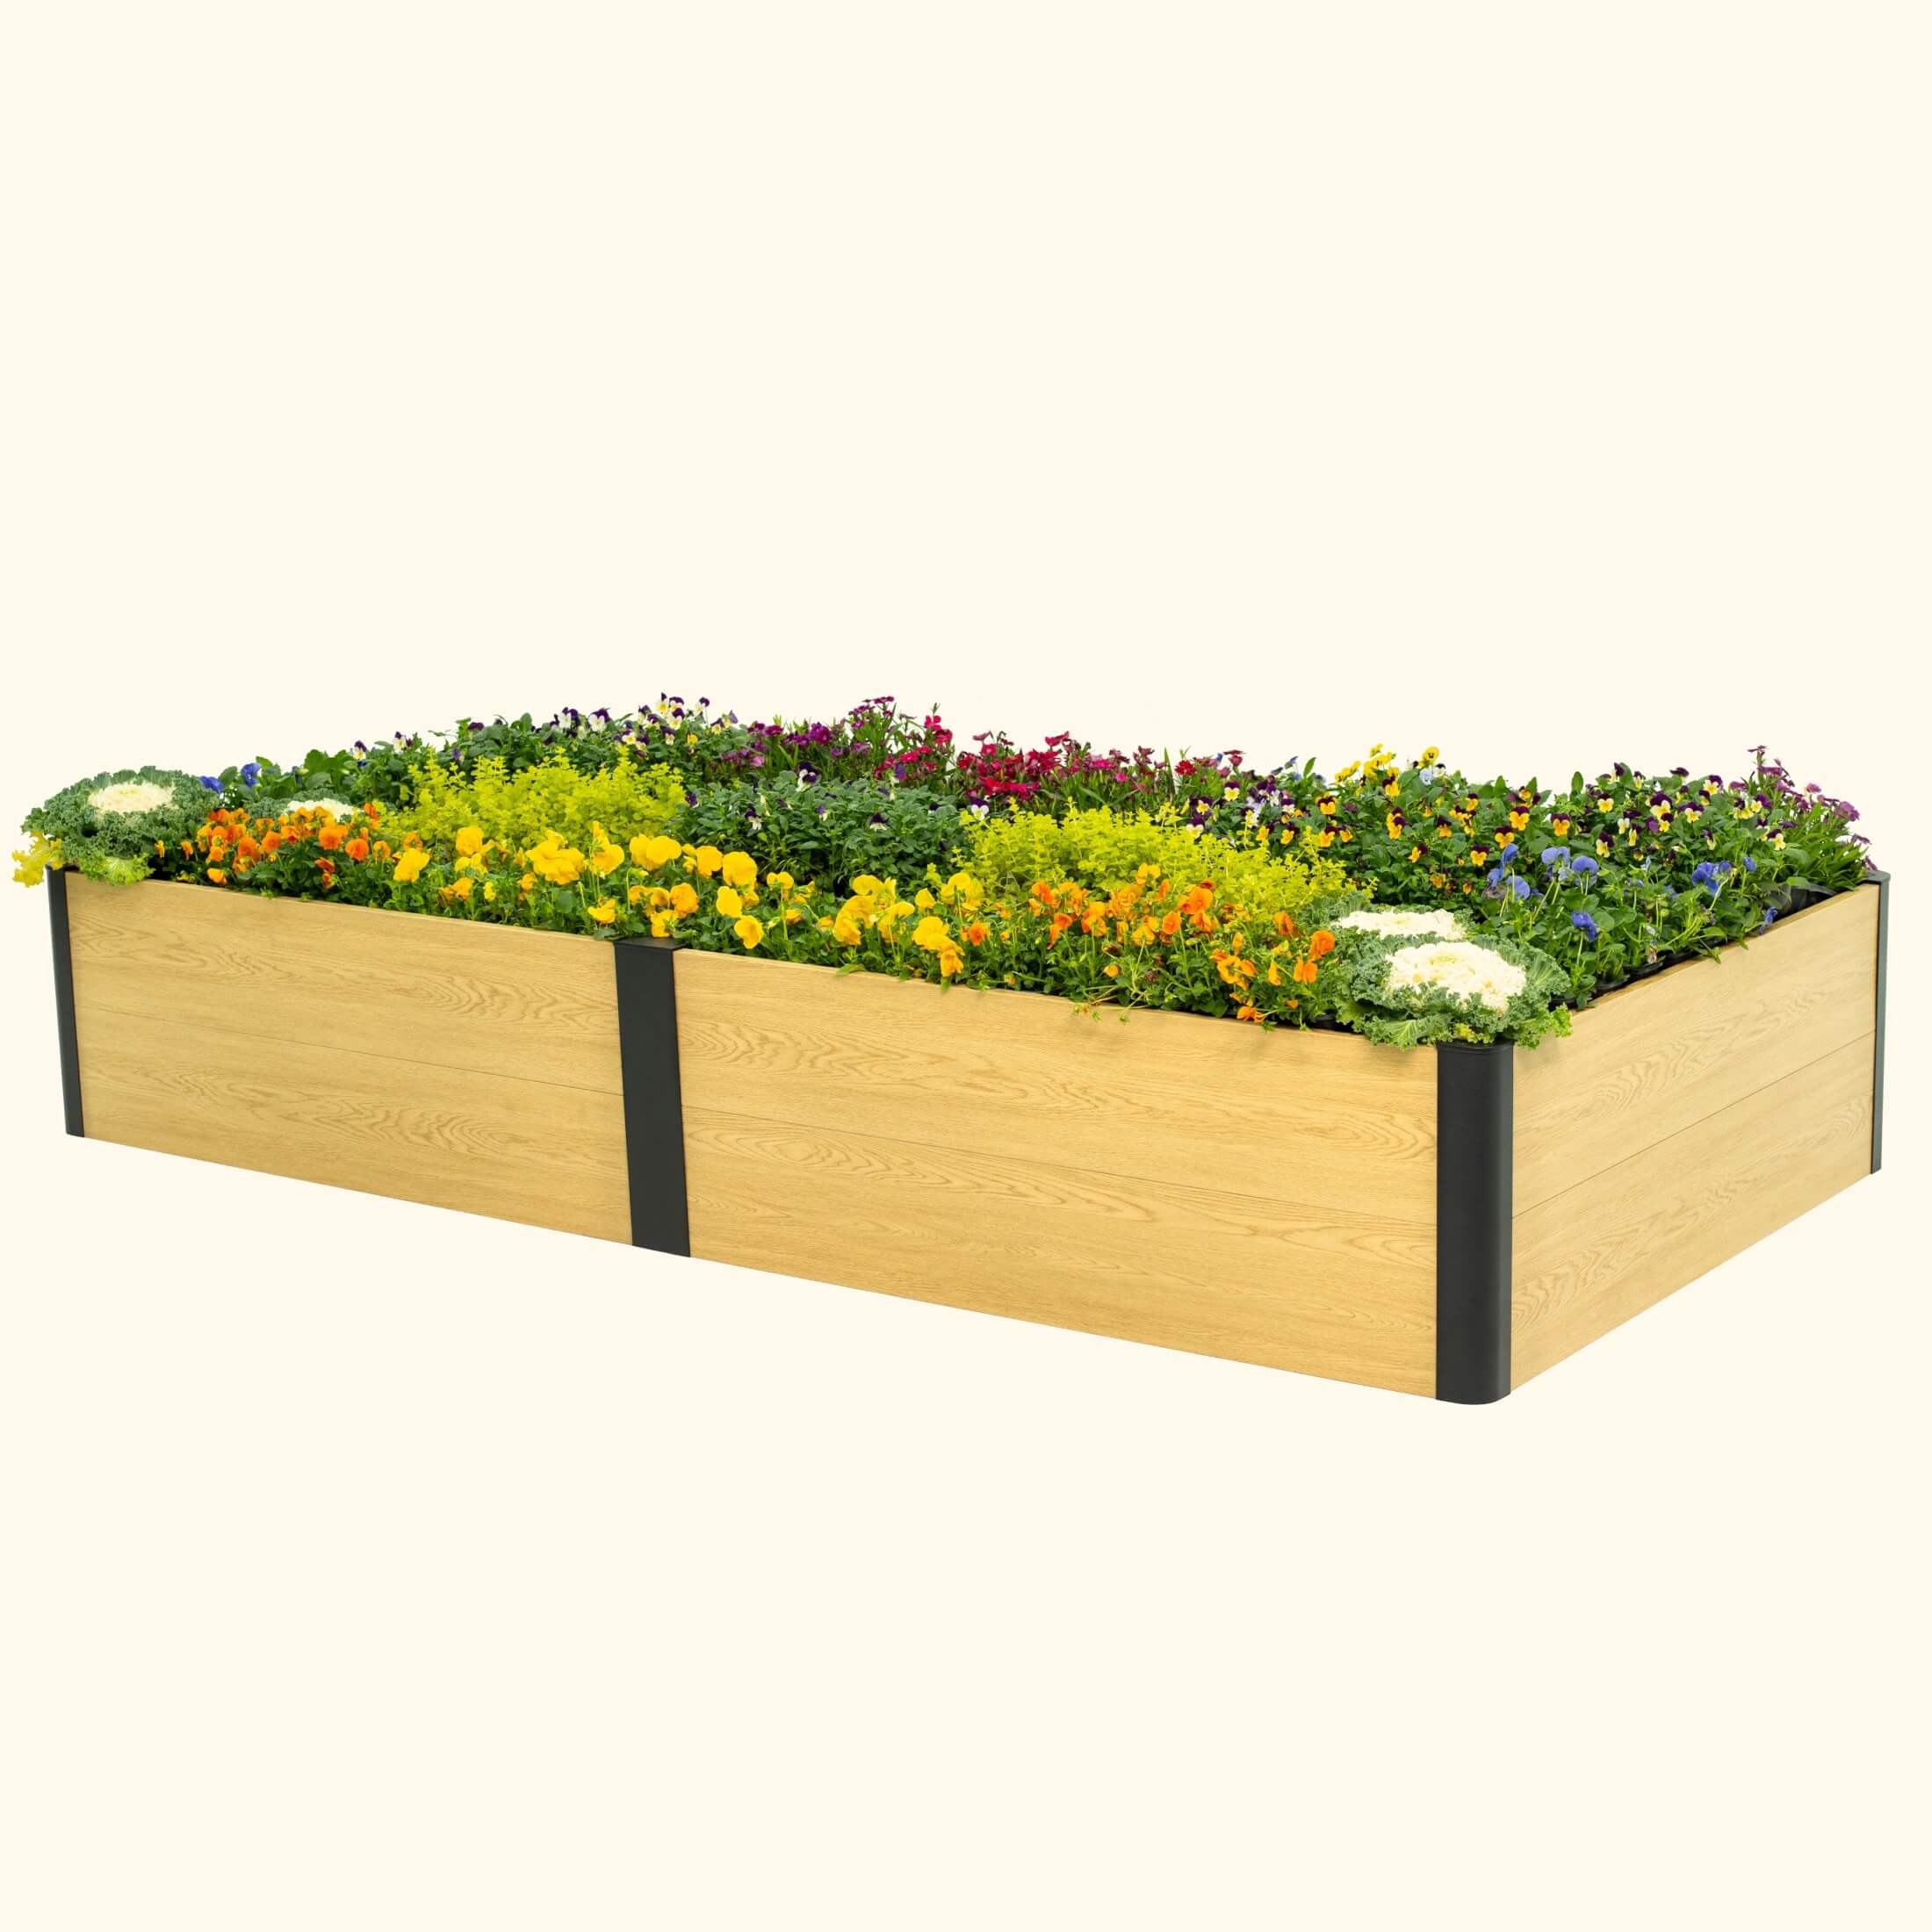
Corrugated galvanized steel is the current darling and it's earned it: it lasts 20 years, holds heat nicely in the shoulders of the season, and the woodgrain-look finish actually looks good in a yard.

Think of a fabric bed as a raised bed in a backpack. It's cheap, it folds flat for winter, and the fabric "air-prunes" roots so they don't circle into a knot the way they do in a solid pot.
Untreated lumber from the big-box store is the classic budget route, and it's perfectly fine — for about three years, until the corners rot. One hard rule: don't build food beds with pressure-treated lumber without checking exactly what it's treated with, because some older treatments are a genuine no near crops.
Here's the one thing I see kill more beds than any frame choice — a beautiful frame filled with cheap fill dirt. The frame just holds soil; the soil grows your dinner.
The Action Checklist (once the frame's built)
- Fill it with a blend, not fill dirt — see the soil mix guide before you pour a single bag.
- Lay down 2–3 inches of mulch — cuts evaporation and keeps soil temps steady through summer spikes.
- Run a drip line or soaker through it before you plant; hand-watering a 4-ft bed every day is a July-you problem.
- Check your zone and last frost date before you set the calendar — beds plant earlier, but only so early. Use the zone lookup.
- Plan the fall season now, too — a bed sitting empty in September is wasted soil. See what to plant in September.
Do the Math on Cost First
Beds are a real line item, which is why I'll never pretend "it pays for itself" is automatic. Drop your bed size and crop list into the plot planner and eyeball the realistic fill cost before you click buy — the frame is rarely the biggest number.
Disclosure: this post contains affiliate links — we may earn a commission at no cost to you.