You don't need a greenhouse to grow a real vegetable garden. You need a warm corner, a light that draws real wattage, and the nerve to start twelve weeks before the soil is ready. That's the whole secret — and it's been the secret for a long time.
Here's the lived part. For me in the Carolinas, the last spring frost usually lands right around mid-April. That means if I want tomatoes in the ground by mid-May, I'm popping seeds into trays by March, a full month before anything can go outside. My first year I did it on the cheapest gear I could find, over a south-facing window that never got quite enough light — and my seedlings went leggy and pale before they ever met real sun. That wasted a season of tomatoes, and it's the single most common reason people quit before they start.
There's history under this too. In the early 1940s, the government actually asked Americans to plant gardens. The Victory Garden push peaked around 1943, when close to 20 million families were growing their own produce — by most estimates that supplied roughly 40% of the fresh vegetables Americans ate that year. People weren't doing that on fancy equipment. They were starting seed in basement sunrooms and kitchen shelves with a shop light nailed to a board. The difference isn't that gardening got expensive. It's that the gear got better.
What a Kit Actually Needs to Do
A kit is only worth it if it solves the real problems seedlings run into. Don't over-buy. Here's the minimum bar:
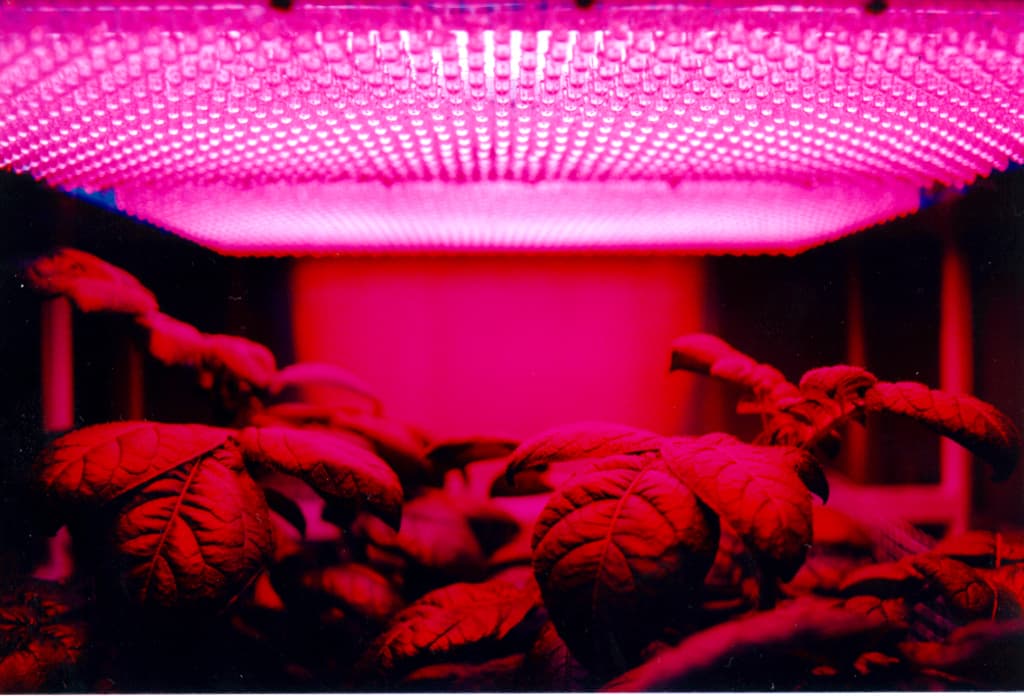
- A grow light that reaches the tray. Seedlings stretch pale and leggy when the window does too little. A fixture that draws real wattage and sits a few inches off the tips fixes this.
- Gentle soil warmth. Peppers, tomatoes, and herbs germinate fastest in warm soil, roughly 70 to 75 degrees. A heat mat under the tray cuts germination time by days.
- Steady moisture. A clear dome or cover keeps humidity high while the seed pops, then comes off once you see green.
- A sterile seed-starting mix. Don't reuse garden soil — it can carry damping-off disease that stalks seedlings overnight.
The Picks, With the Pros and Cons
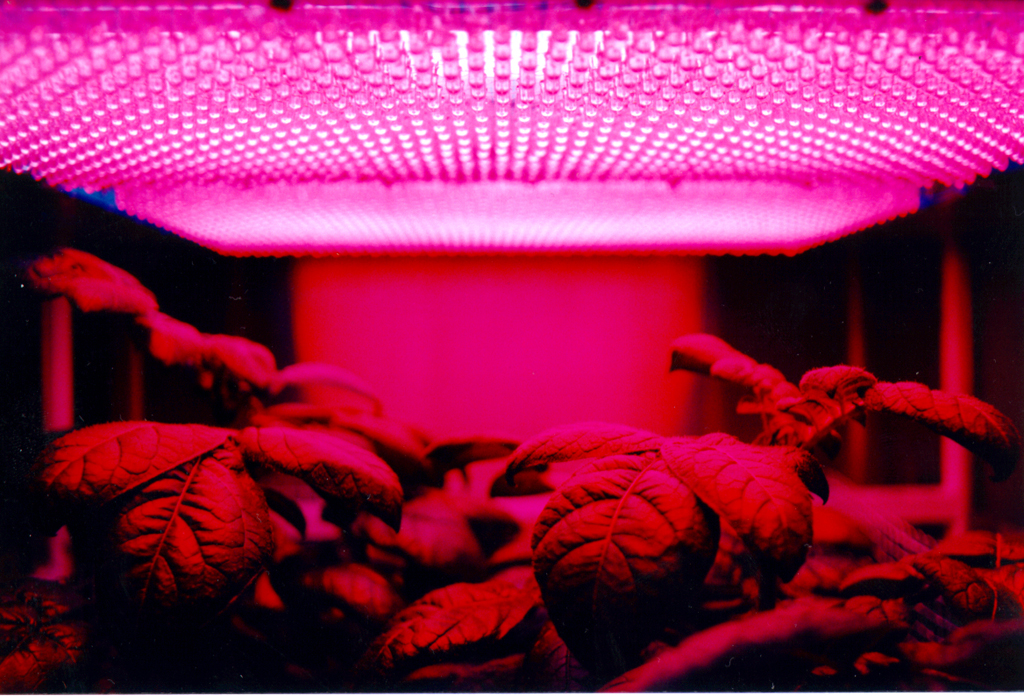
A tidy countertop system that manages light and water for you while it sits on the kitchen counter. Drop in a pod and it handles the schedule, so you get strong, stocky starts without a timer or a heat mat.
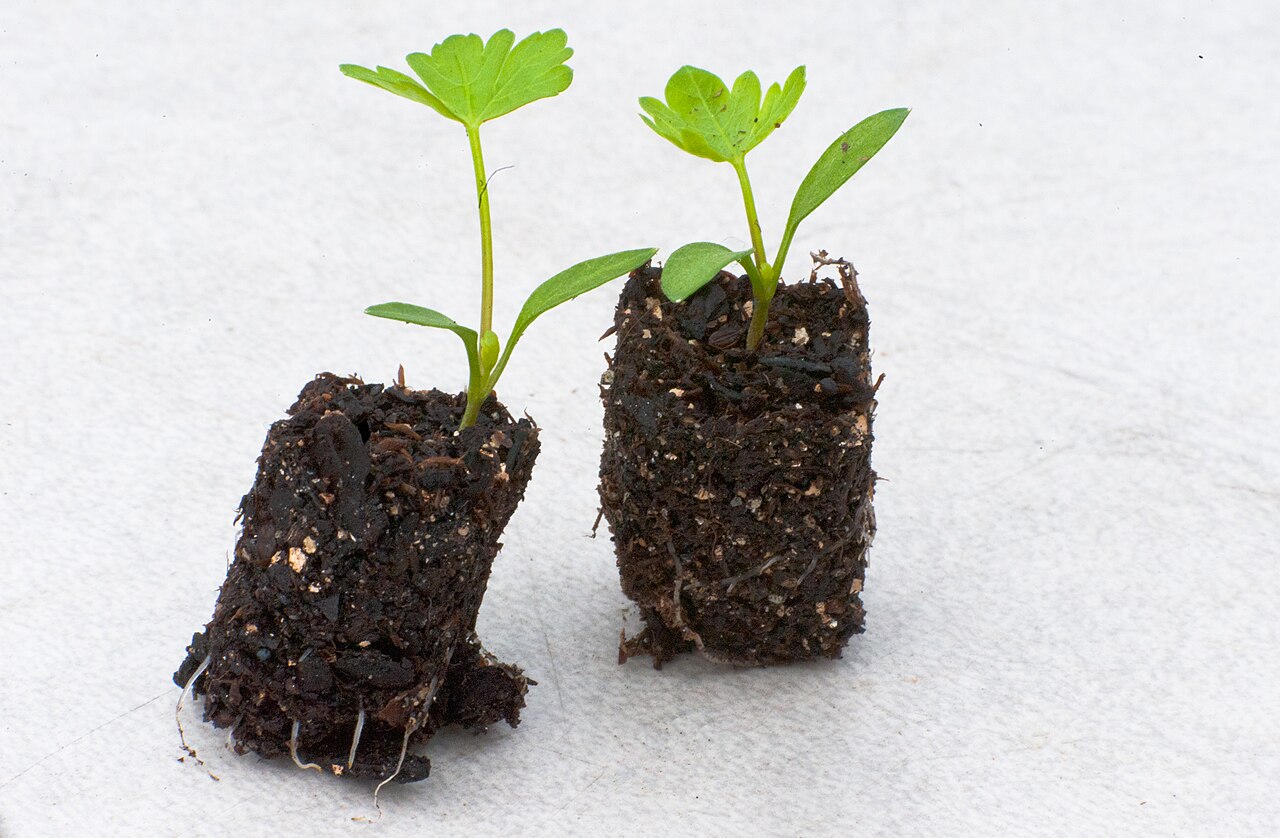
A shelf light paired with a heat mat, a drip tray, and a humidity dome. This is the most flexible setup for someone growing a real garden patch instead of a countertop herb garden, and it scales from one tray to several as you get comfortable.
This is honestly the closest thing to what the Victory gardeners used. A decent LED shop light hung by chain over your tray, plugged into a cheap outlet timer, gives you the best light-per-dollar in the whole category.
What I'd Skip For Now
The fancy “home greenhouse” countertop units that run a few hundred dollars. They're lovely, and an ordinary rack with a shop light does the same job for a fraction of the cost while you're still learning. Spend the difference on seeds and soil.
My Honest Starting List
- Start with the few things you'll actually eat in volume — a tomato, a pepper, a favorite herb. Not twenty varieties.
- Set the light two to four inches off the tips and run it 14 to 16 hours a day on a timer. A consistent day-length beats fussing with heat.
- Water from the bottom, and once the sprouts appear, point a cheap USB fan at them for a quarter hour a day. Moving air makes stockier seedlings.
The Fall Angle
Fall isn't just for harvest — it's when you set up next spring. Start trays now for the cool-season crops you want in early ground, or spend the season prepping beds so you're ready to sow in deep winter. Not sure of your dates? Drop your zone into the PlotPlanner zone lookup and get your frost dates in seconds.
And if you're starting now, the when-to-plant-fall-vegetables guide tells you what can still go in the ground this window, so the bed you're ready isn't a guessing game.
Disclosure: this post contains affiliate links; we may earn a commission at no cost to you.